How to Light Your Product Photos Like a Pro
Light is the most important part of photography! It doesn't matter how spectacular your products look or how state-of-the-art your camera is; if your photography lighting is bad, your pictures are going to suck. Period.
Keep in mind that your camera sees things differently than your eyes. Your camera is sensing how much light it is getting from the image and how much light is being reflected back into the camera. So, we are going to dish on all the best tips and tricks to make the most of light when it comes to your product pictures.

Color Cast & The Best Ways to Control It
Let's start with light's color temperature. Color temperature is measured in Kelvin. If you've ever paid attention to your light bulbs, you might have seen their Kelvin rating.
A 3,000 Kelvin bulb is a warm - white plus soft orange, like a sunset. In contrast, were you to use your onboard flash (which you really shouldn't because it's so harsh), you would get bright, clean white light, 5,000 Kelvin. As an example of the cool end of the spectrum, overcast daylight will register around 7,500 Kelvin. Have you ever notice a blue cast in your outdoor photos? The reason is the cool color temperature outside at the time.
Between 5,000 and 6,000 Kelvin is your ideal, neutral light range. At those numbers, you won't see the yellow or blue color cast that happens at lower or higher temps.
(You might be thinking of some cool photos where pros used a color cast to their advantage. Those are great, but remember, for product photography, accuracy is the name of the game. Your customers need an accurate representation of the product they are purchasing!)
How to keep your (white) balance
Your camera's white balance allows you to compensate for lightning temperature and keep your colors clean and accurate. You will likely have an automatic setting and perhaps a few presets.
Presets are calibrated to compensate for lighting situations such as tungsten bulbs, fluorescent lighting, and overcast days out-of-doors. Presets on your DSLR will probably be denoted with intuitive icons - a cloud, a domestic light bulb, etc. In addition, you have to option to customize your white balance. Taking the time to set that up will definitely be worth it.
Sometimes, when you are using auto white balance, it may seem to not be working properly. Usually, the issue is that the image you are shooting has a monochromatic color scheme, meaning it has varying tones of a single color. A monochromatic color scheme can be very effective for some brands. But, in order for your camera's white balance to work properly, the camera needs to access a full range of colors.
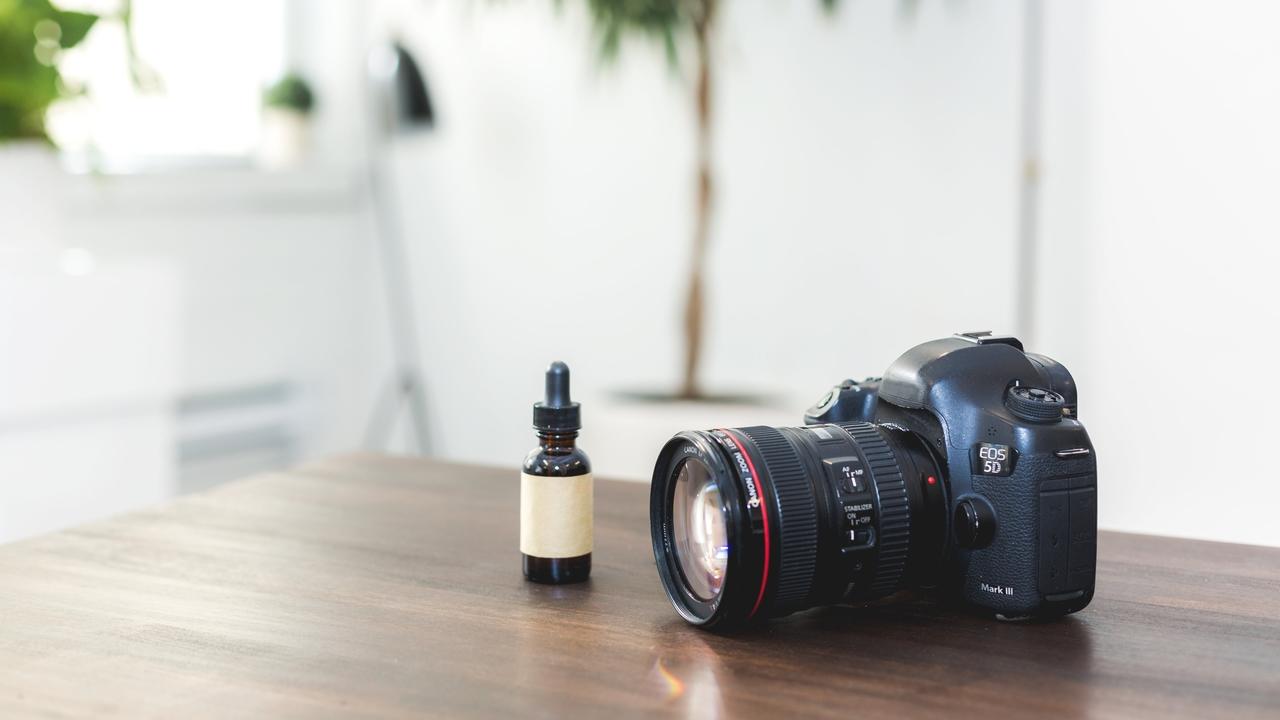
How do you correct the issue? Simply find a small, colorful item - a trinket, toy, postcard, etc. - and pop it into the image field. Put it off to the side so that it is seen in the viewfinder but can easily be cropped out when you edit your photos. Bam! Now your camera has the info it needs to adjust and take a proper photo.
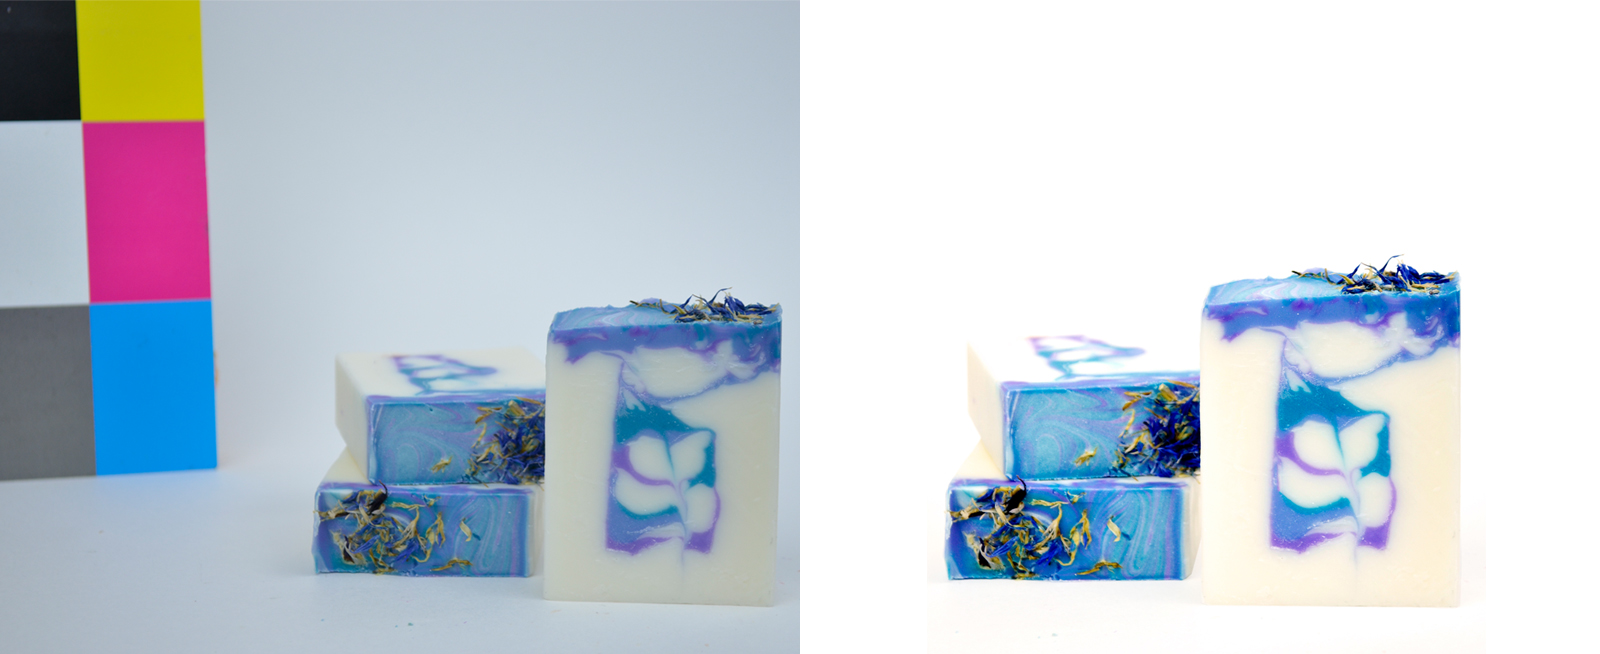 Your camera needs to access a full range of colors for the white balance to work properly. So if your subject is monochromatic, add a colorful object to the edge of the field.
Should you keep things natural or embrace artificial?
When you’re choosing a light for your photography, some people prefer natural photography lighting while other people prefer artificial light. With a project like product photos, where consistency is key, artificial light is a good choice.
Natural light locks you into a very limited timetable. It has to be daytime (duh!) and, ideally, around noon. You are also at the mercy of shifting cloud cover (overcast conditions help diffuse sunlight) and other weather conditions. And, it's not like you can shift the sun a bit to the right to get the perfect angle (although reflectors can help)!
Artificial photography lighting offers you much more control over your light's color temperature, position, and strength. Since you won't have any cloud cover in your studio, you'll need diffusers on-hand to prevent harsh shadows.
Use true daylight bulbs to prevent color cast. (Your standard household bulbs aren't going to cut it.) Proper positioning is important too. More on that in a bit!
Making light work for you: diffusers & reflectors
Let's talk about diffusing light and why it is so important. To diffuse light, place a screen of some type in front of your light source. Have you ever noticed the harsh shadows that a spotlight creates? That's what you want to avoid. Diffused light makes both shadows and highlights softer.
There are a ton of options for diffusers. Most semi-transparent, white materials will work. People use everything from tissue paper to towels and even trash bags. Consider making buying or making a lightbox or softbox to use as a diffuser for your product photography.
Affordable lightboxes/softboxes:
Or DIY:
In addition to diffusing light, you will often need to reflect light. A reflector bounces light onto the subject, improving the resulting photo. It's like having an extra light fixture!
Ready-made reflectors:
DIY tutorials:
Location, location, location!
If you’re using artificial photography lighting, you’re going to need at least two lights. However, if you place lights directly in front of or to the side of your subject, you are going to get hard, dark shadows behind, under, and in front of your product. Therefore, you want to place them diagonally in front of your subject.
Two lights, properly positioned, will minimize funky shadows. Instead, your only shadow will fall softly behind the product and barely be noticeable. And, your product will look great. Alternatively, if natural light is your only option, use reflectors to mimic diagonal front lights.
Check your work!
Remember how we said lighting is the most important aspect of good product shots? (And it's worth saying again!) Once you've set up, check your photography lighting with a test photo. Don't take 200 photos before you realize things are off!
Make adjustments until everything is on point. The effort you put in now will save you hours of editing time! This is another check in the pro column for artificial light for product photography. By the time you get everything set in natural light, the sun or the cloud cover can shift, and you are back to square one.
Photography lighting take-aways...
I bet you didn't realize so much went into lighting photos like a pro, right? That knowledge and equipment are why professional product photos come with a hefty price tag. And they are worth it! But, if you need to DIY for now, hopefully, we've got you on the right track.
Although lighting is the most important part of photography, there are still a lot of other tips and tricks you need to know. And we can teach you! Purchase The Moneyshot, our product photography 101 class, from The Nova Studio. The class includes a 3-hour video and 6 digital Handouts: a shot tracker, a photography cheat sheet, a reference sheet, a vocabulary list, a resources list, *PLUS* a transcript of the video.
Have you had any woes when setting up photography lighting? Tell us more in the comments!
Want to snag weekly advice on building a successful soap biz directly in your inbox?
Of course you do! Sign up for our newsletter below for more tips and tricks to make bank in your biz.
