What You Need to Get Started with Production Soapmaking
I often get asked about specific recommendations for production soapmaking when starting a soap business.
The truth of the matter is, it depends on your budget, your process, your formula, and so much more. I've scaled two different soap companies to production soapmaking methods personally, as well as working with hundreds of soapmakers to do the same.
Each part of the soapmaking process requires special consideration and has various possibilities. While every situation is different, there are quite a few recommendations and reviews I can provide to help you make the jump to production soapmaking in your own studio. Let's go through each part of the process and talk it out!
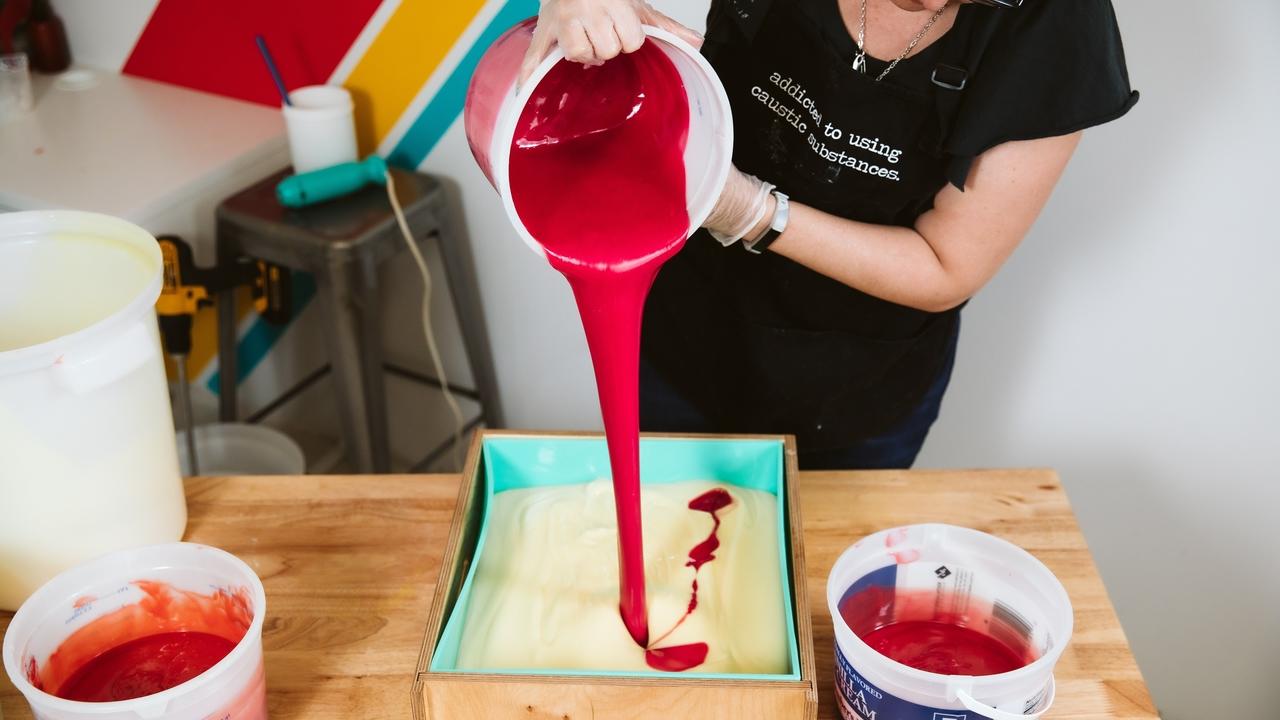
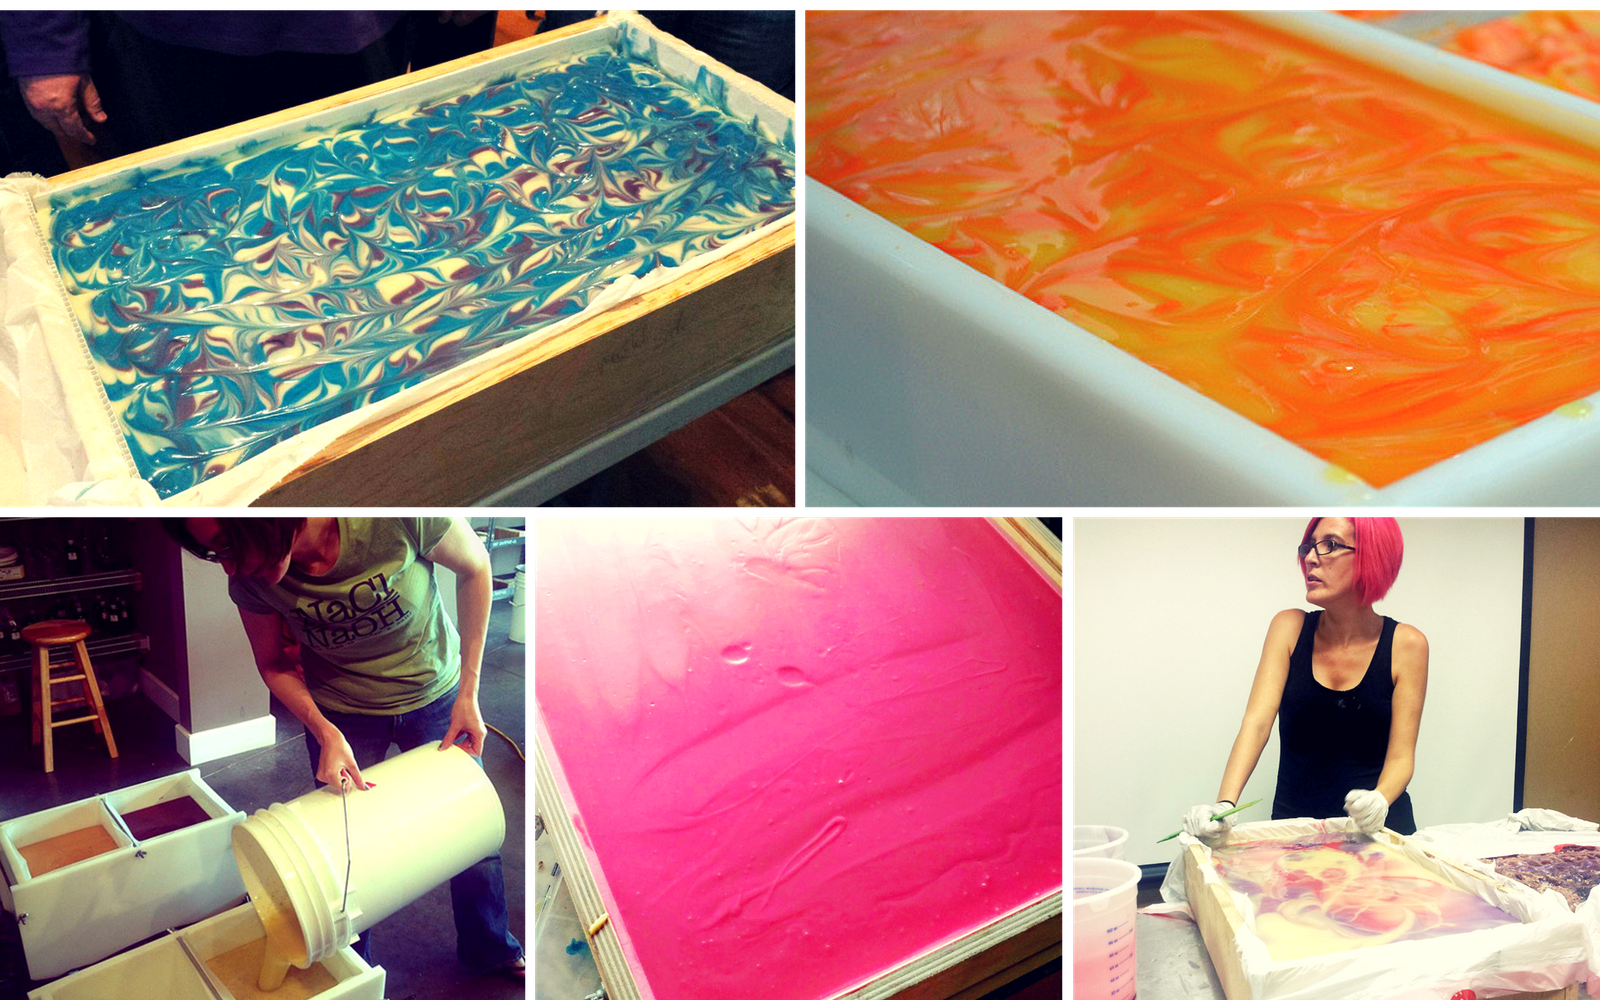
How to Mix Big Batches of Soap
When it comes to scaling up your soapmaking production, you'll find yourself needing a new way to mix up your big batches of soap. Long ago, simply using a stick blender was an amazing addition to the process of soapmaking. A stick blender was magic compared to mixing with a whisk or spoon.
As you move your soap batches up to twenty or forty pounds of soap at a time, you'll find a regular stick blender may not work anymore! The depth or volume of the soap may be too much for your stick blender to handle.
Luckily, there are quite a few options that you can tailor to your production soapmaking process. You'll want to consider the depth of your soaping container and the soap within it, as well as the amount of mixing needed to bring your soap to trace.
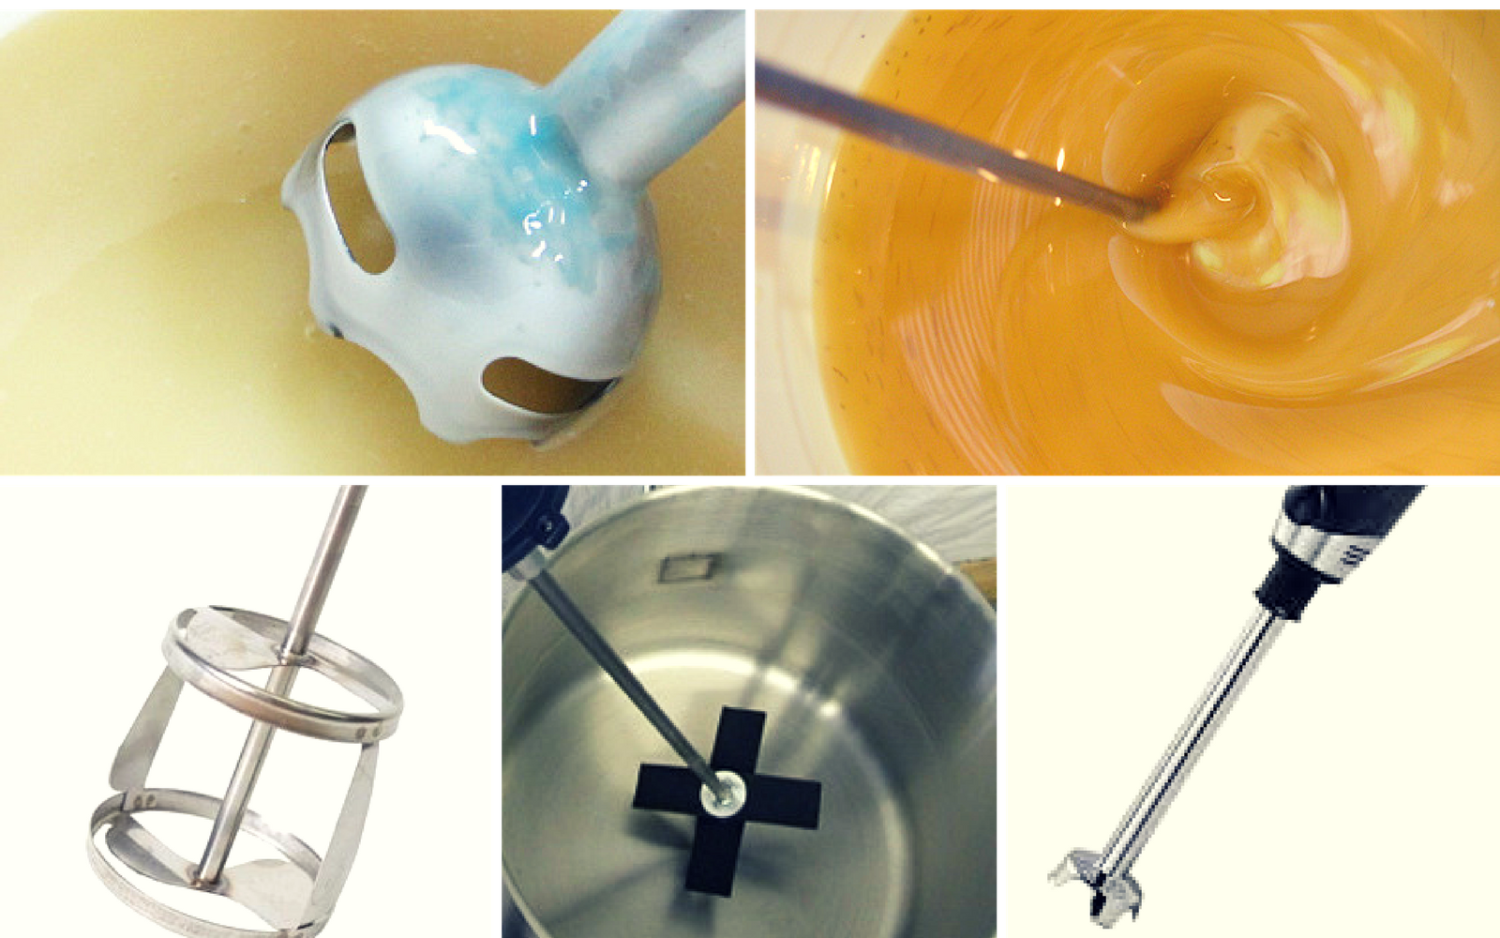
Budget Mixers for Production Soapmaking:
Using a handheld power drill with a paint mixing attachment is an affordable way to mix big batches of soap. A drill and mixer attachment can cost you as little as $40 to get started.
You'll need a cordless electric handheld drill or a driver with a cord (which is less expensive, though, it can be annoying to be restricted!) No need to splurge on high-end brands! If you already have one, put it to work in your soapmaking!
Then you'll need to choose a paint mixing attachment for your drill. My personal favorite is the stainless steel Jiffy Mixer that comes in a variety of sizes. Be aware though, if you get the Jiffy Mixer, you need a 1/2 inch chuck drill rather than the standard 3/8 inch.
You can find a variety of paint mixing attachments at a local hardware store for as little as $5 to $20. Be careful when purchasing them! If you choose to pick one up locally, keep these tips in mind:
- Avoid squirrel cage mixers as they often introduce a lot of air into the soap.
- Ensure the attachment is not made of aluminum (or it will react with the soap).
- Skip any painted or epoxy coated attachments as they will flake, scratch, and wear down over time.
Another option is the Willow Way Pot Whipper from Soap Equipment, which I have also used in the past. I personally prefer my Jiffy Mixer over the Pot Whipper. However, the Pot Whipper does work well and the team at Soap Equipment know their stuff.
Professional Mixers for Big Batch Soapmaking:
Many soapmakers choose to upgrade to a commercial stick blender rather than the drill and paint mixer combination. Commercial stick blenders typically cost anywhere from $200 to $600. But, they are designed to be used in commercial kitchens blending huge stockpots of ingredients. The Waring Big Stix stick blender comes with various shaft lengths that are removable and dishwasher safe, allowing you to choose one that works for your soapmaking.
The next big step up is a large commercial floor mixer. These pieces of equipment are thousands of dollars but can be reliable and helpful in steady production soapmaking.
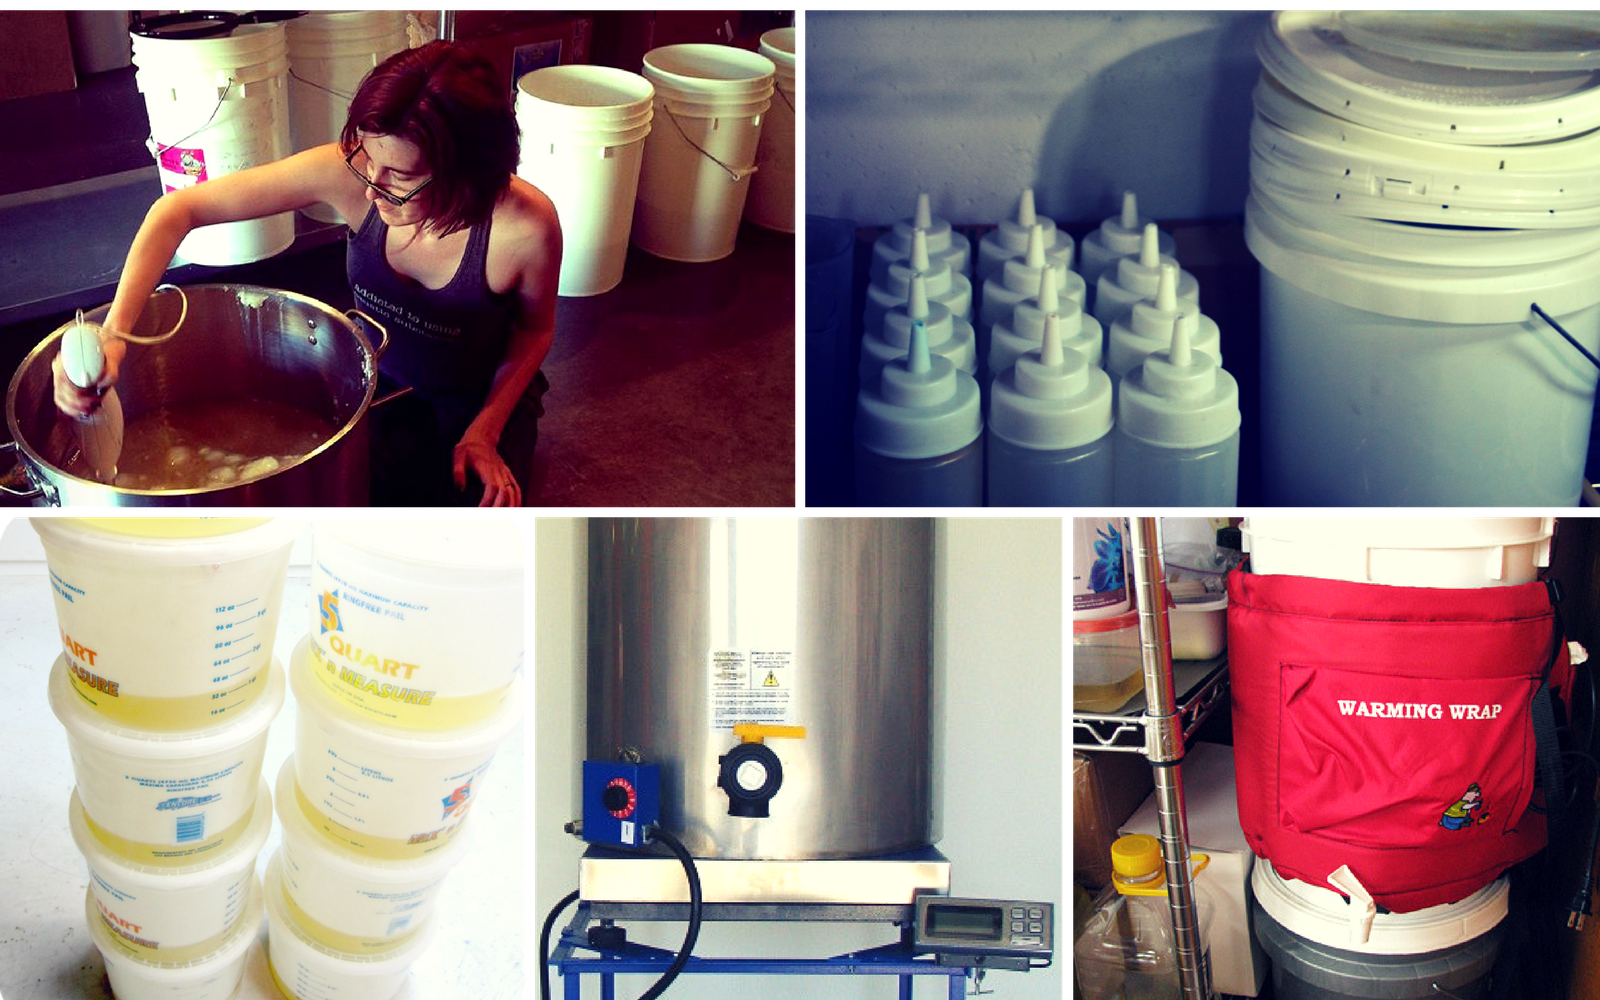
Using Production Soapmaking Containers
When you increase your soap batch size, you'll outgrow your current soapmaking containers. Many soapmakers believe they must use stainless steel pots only and that can be a major stumbling block. The good news is that while stainless steel is an option, it's not required!
When scaling your soapmaking containers up, you need to consider the weight and size of the container. Always keep your physical limitations in mind when choosing how big to really go!
(The photo of the DIY bucket warmer was provided by Amy of Great Cakes Soapworks.)
Containers for Big Batch Soapmaking on a Budget
Reusing containers you already have on hand can get you started with big batches of soap for less. If you currently purchase your solid oils, like coconut oil, in bulk, they likely come in five-gallon to seven-gallon buckets. These buckets are the perfect size for soap batches up to forty pounds in weight! Simply clean them out and put them to work!
You can also try asking local restaurants, bakeries, breweries, and the like. Many of their ingredients also come in these giant buckets, and they tend to toss them out or recycle them. You could offer to take them off their hands for a couple of dollars!
If you don't have any buckets to re-use, you can buy new buckets for relatively cheap. I personally prefer seven-gallon buckets as they give more room for mixing and sloshing of the raw soap when pouring, but they can be difficult to find locally. Five-gallon buckets, though, are always plentiful in the paint aisles of home improvement stores!
Don't forget that you can also masterbatch your oils or lye solution and use well manufactured HDPE plastic buckets and carboys for storage! My personal favorite supplier for buckets, carboys, and the like is US Plastic. If you outgrow seven-gallon buckets, you can always move up to plastic drums, too!
If you need to be able to melt the contents of a bucket or drum, a wrap-around silicone heater works well. You want to make sure that you use a temperature adjustable model. And that it is designed for use with the material of your container. To help distribute the heat evenly, layer a piece of aluminum flashing between the heater and the bucket or drum.
Upgrade to Professional Soapmaking Containers
Moving up from DIY solutions can be a big increase in efficiency and reliability, so if you're ready to make the jump, water jacketed heating tanks and lye tanks are the way to go. Soap Equipment carries a variety of sizes, along with some great accessories like timers, mixers, stands, and scales.
Don't forget that soapmaking is similar to other production crafts, like brewing beer and honey production! I've seen some brewery and beekeeping supply companies that carry similar tanks as well.
Soap Equipment's Pot Tipper is also a good move for soapmakers who can't lift large batches of soap but want to be able to keep scaling up.
Filling Commercial Soap Molds
When it comes to increasing your soap batch size, you'll also need to increase your mold size or quantity. This tends to be the biggest stumbling block for soapmakers nowadays! Most soapmakers rely on using silicone for small batches and don't want to give that up!
In my opinion, silicone for large batches isn't as durable as it is in smaller batches. Silicone liners tend to stretch out as they are exposed to the heat from saponification and the stretching from unmolding. With a large block of soap, this means more heat and more stretching. In production soapmaking, that also happens far more frequently. Over time, silicone molds may tear at the corners, grow larger than their original size, and/or become floppy.
Personally, I love my silicone molds as much as the next soapmaker for small batches. For the most part, I stick to wood and HDPE in production soapmaking. While lining a mold is a pain in a smaller batch size, big batches make lining easy peasy.
Big Batch Soap Molds on a Budget
Building your own wood soap molds is as economical as you can make it! You can follow our tutorial on how to build your own wood soap molds, or simply build a box style wood mold. When it comes to lining wood soap molds, I use the thin economical trash can liners. Many soapmakers worry about the creasing and wrinkles of liners. But in a slab or block of soap, very little of the soap comes in contact with the edges of the mold.
If you want to ensure smooth sides, you can opt instead for quilter's mylar sheets or corrugated plastic sheets. (Or use sheets along the side of the molds on top of a trash can liner.) Some soapmakers also use silicone baking mats among other inventive ways to line their molds!
Invest in Large Soap Molds for Your Business
You can find silicone production soapmaking molds on occasion. I've recently discovered Workshop Heritage production molds. After a test run, my new 25 -pound production mold gets a thumbs up (although the flopiness of the liner concerns me a bit). You can see the Workshop Heritage soap mold in action on our YouTube channel.
Many of the producers of my favorites, such as Woodfields and Silvermoon Molds, are no longer in business. However, if you do happen to come across a soapmaker selling their molds on a destash site, snatch them up. (I have a couple of them, and while the silicone has stretched a tiny bit, they are still very useful!)
Suppliers like Nurture Soap Supply, Bramble Berry, and Winston & Walter Artisanal Products make a number of silicone options that are not as large as the now-defunct versions. If you don't mind pouring multiple molds, you can use those for production.
I've also known a few soapmakers that have contracted custom silicone molds directly from manufacturers overseas. If you are willing to do the research, it's an option.
Another great option for production soapmaking is HDPE molds. You can get custom HDPE molds from Rich at Soap Hutch, and they work great. (I've owned multiple molds from Soap Hutch, and use them to this day.) If you want to stick to a slab option so you can texture the top of your soaps, Soap Hutch is your go-to.
However, if you are good to go with a block mold, where you have straight flat sides on each bar of soap, Soap Equipment Pro Molds are the next best option.
Be aware that you may need to line your HDPE molds depending on your recipe. (My standard recipe for my first soap company, for instance, did not need a liner, but other recipes I've used have!) An easy trick is to use parchment or wax paper cut to the size of each mold side, using a thin layer of castor oil to adhere it in place.
You also want to avoid trying to cold process oven process in HDPE molds. Chances are that your big batches of soap will be large enough to generate enough heat to gel on their own, but just be aware that high heat can slightly warp HDPE long term.
Using Big Batch Soap Cutters
Now that you'll be making big batches of soap, you'll need a way to efficiently cut that soap into loaves and bars! Once upon a time, there were very little options for cutters on the market. Nowadays there are a ton to choose from.
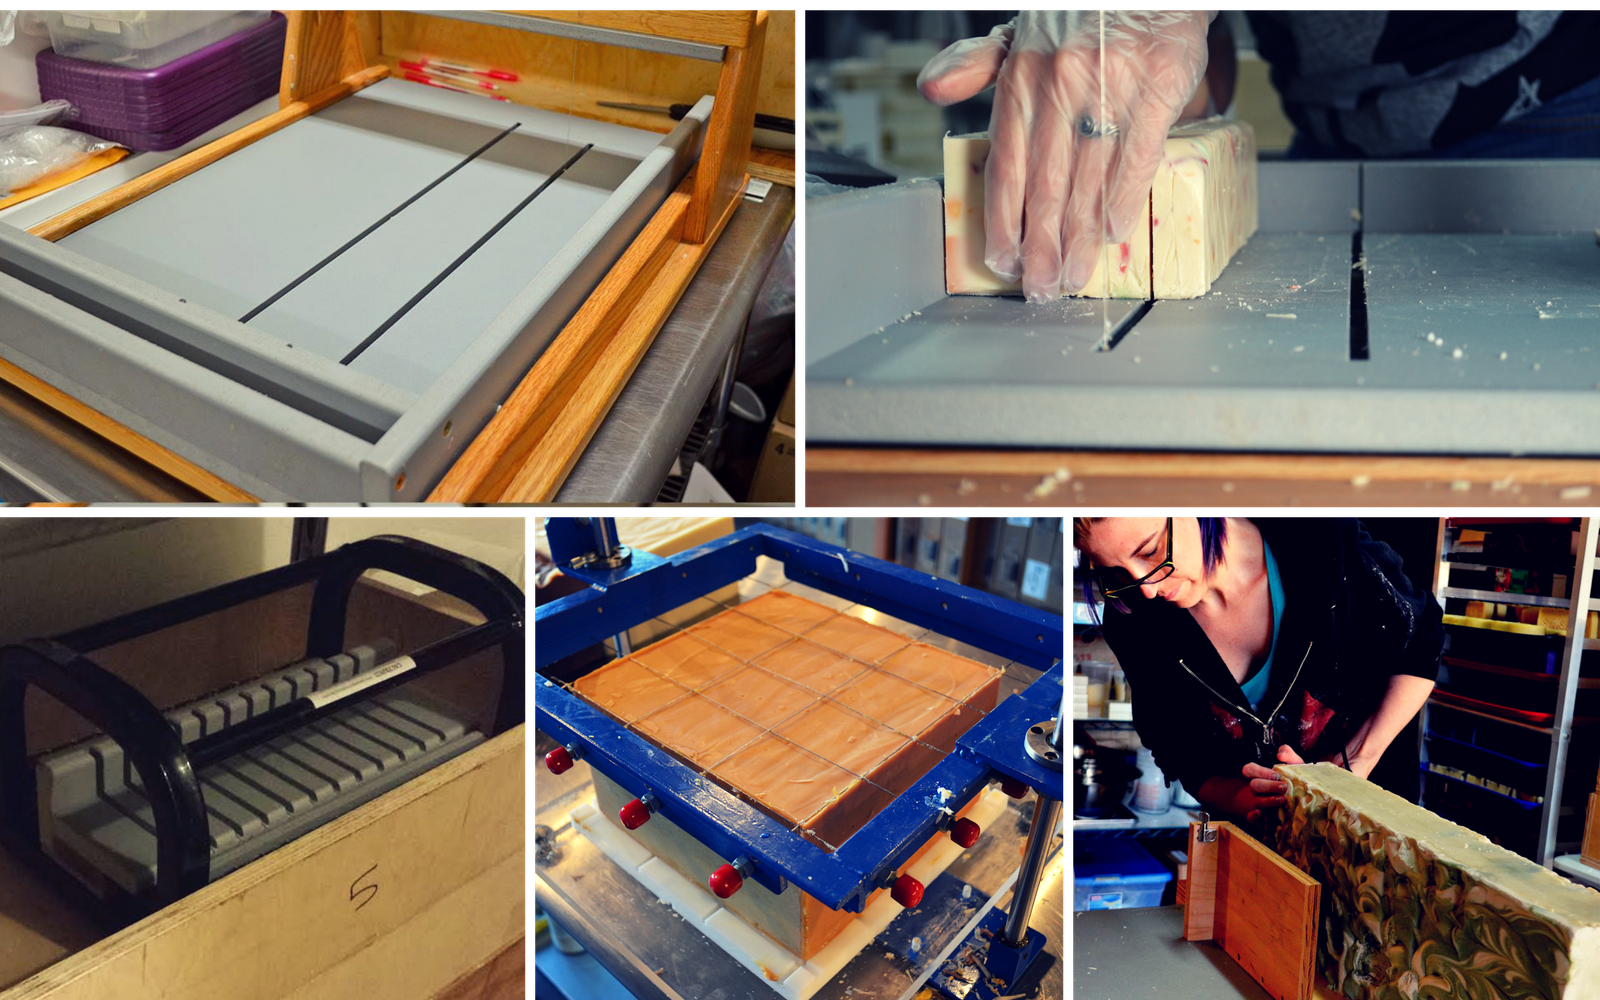
Like other aspects of the scaling up process, you need to consider your unique soapmaking process. You may choose to pour soap into multiple loaf molds, so you won't need a loaf splitter. Or you may choose to make soap in a block mold, so you need a cutter designed to handle that.
Economical Soap Cutters for You Business
Surprise, surprise, you can DIY your own cutters! I've personally built loaf splitters out of wood, a guitar string, and a couple pieces of hardware.
However, the available options of soap cutters made out of wood are both economical and well worth the cost. You can find loaf splitters and multi-wire bar cutters made out of wood from Bud Haffner or Plowboyz on Etsy as well as Bramble Berry.
Another oldie but goodie that many new soapmakers don't know about is Cumberland Acoustic. My first multi-bar cutter was built by them, and I highly recommend them. In fact, when I broke all my replacement wires on that cutter months after buying it, I panicked and sent them an email. (Don't cut fully cured soap on a multi-wire cutter, by the way.) They immediately put more replacement wires in the mail without charging me. And they told me where I could find them locally for the future.
Professional, Heavy-Duty Soap Cutters
Moving away from wood and towards a steel option when it comes to soap cutters is the way to go.
Personally, I have cherished my cutters from For Craft's Sake for years now. Their multi-wire bar cutter, known as The Tank, can be custom built to your specifications. The Quick Cut Log Splitter makes cutting slabs down into loaves easy with a sliding HDPE try and stationary wires. (It's also completely customizable to your needs!)
Various other metal multi-bar cutters are also available from Nurture Soap Supply, Plowboyz, and Soap Equipment.
Last but not least, don't forget automatic cutters that do all the hard work for you! Soap Equipment's Air Cutter works magic (I swear.) You'll need an air compressor to operate the pneumatically powered cutter. If you can swing the upgrade, it's well worth it for efficient production without the heavy lifting.
Scaling Up Soap Curing
When you start making bigger batches of soap, you need a way to cure all that soap in as little space as possible. There are quite a few options here, and the sky is the limit!
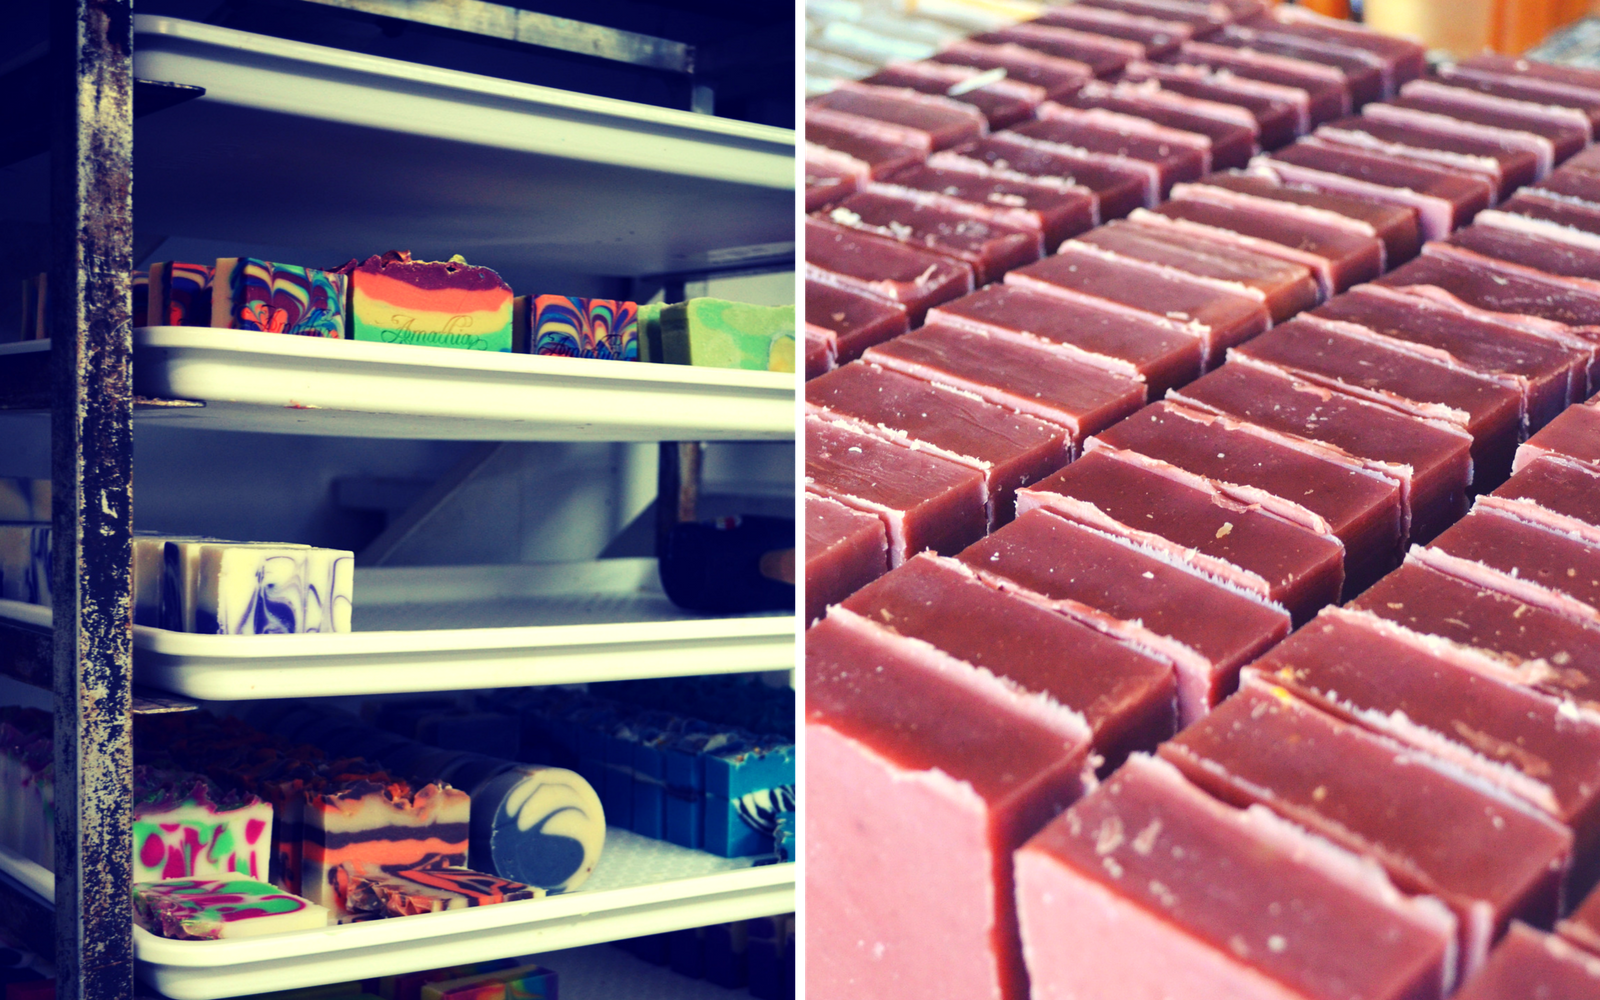
Cheap Options for Soap Curing Trays
Soap Equipment's drying trays are an economical way to cure soap. They stack on top of each other, and an additional dolly can be purchased to move them around easily. It can be a pain to stack and unstack the trays, as well as move them around as they get quite heavy.
Professional Soap Curing Racks
Adjustable wire shelving is great for curing soap, especially when you snag additional shelves and plastic shelf liners. If you pick up an industrial wire shelf, each shelf can typically hold several hundred pounds of soap.
A commercial kitchen sheet pan rack is also a helpful curing rack. Do not use aluminum sheet pans to cure the soap on, though! I personally used food service trays, and I've seen other soapmakers use plywood underneath to make them more sturdy.
Don't forget to check out restaurant liquidation sales and equipment auctions, where you might be able to snag a deal. (I've bought stainless steel tables, sheet pan racks, and the like for $50 or less that way!) If you want to snag new equipment, Webstaurant is my go-to supplier online.
Ready Scale Up Your Soapmaking?
There you have it - all my top recommendations for scaling up your soapmaking for a variety of budgets! What's your biggest hurdle to scaling up your production? Drop a comment below and let us know!
Want to snag weekly advice on building a successful soap biz directly in your inbox?
Of course you do! Sign up for our newsletter below for more tips and tricks to make bank in your biz.
